# WebSDK
# Introduction
The easiest way to get started with our solution is by using our WebSDK. We've put a lot of effort into improving the conversion rate of your users and have thought about even the little details that make a big difference. Here are a few reasons why you will love the WebSDK:
- It is highly customizable, so you can choose the steps you want, change the styles or even copy it entirely.
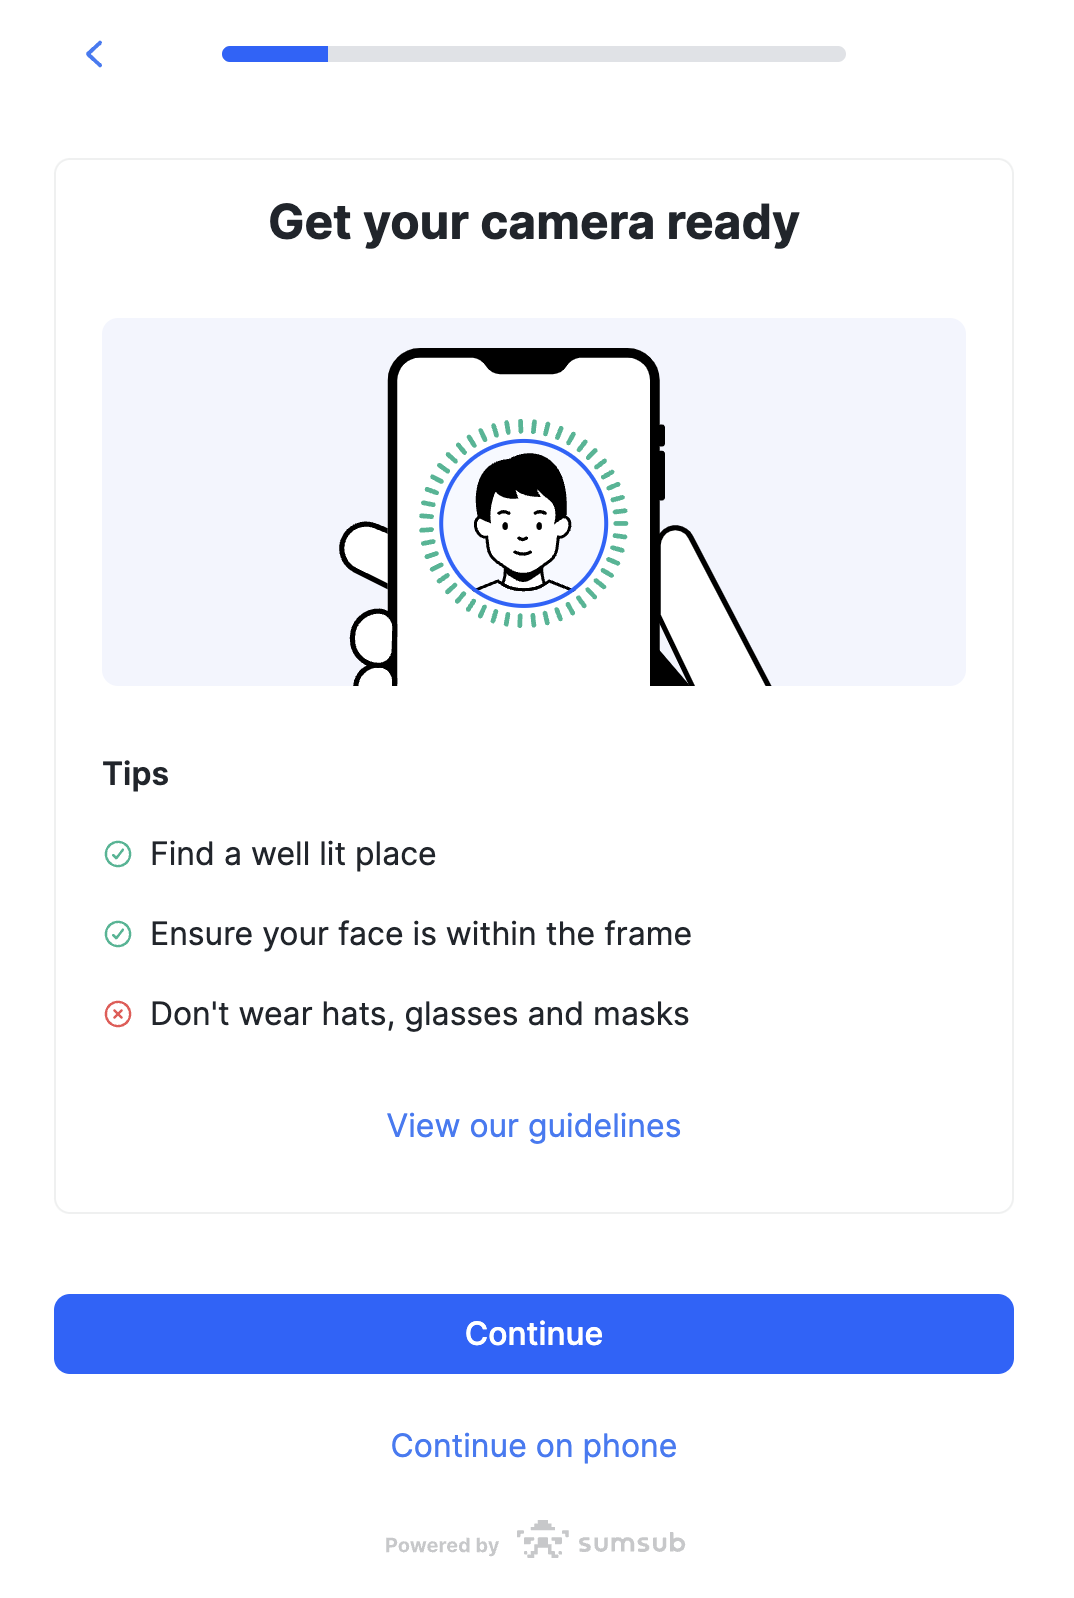
- It features a face liveness module that improves conversion rates and minimizes fraud.
- The design is adaptive and mobile friendly, so it's easy to use on any device.
- It gives users hints on how to better pass the flow, making it a smoother experience.
- You can continue using it on mobile so you're not tied to a desktop computer.
- It automatically refreshes when the status is changed, so you're always up-to-date.
# Integration
# Steps overview
To get started with our solution, follow these 3 simple steps:
- Step 1: [Dashboard] Set up your applicant levels or pick a predefined one from the options available (e.g.
basic-kyc-level). - Step 2: [Backend] Generate an Access token which you will pass to the WebSDK later.
- Step 3: [Frontend] Install an NPM package or use CDN version of the script. We also have a package for React. Then launch the SDK initialization function with the accessToken you generated in step 2.
# Generating access token
Make sure to authenticate all API requests as described in this section. For testing purposes, make sure to use App token and Secret key pair that was created on Sandbox for request authorization headers.
To initialize a WebSDK, you must generate a temporary access token, which you will pass to the WebSDK when you initialize it. This action must be performed on the server side.
You also have to provide a unique and meaningful userId query parameter. It can be an external user ID in your system, or an email address. Do not randomly generate these IDs, unless you are testing.
If you reuse access tokens make sure to set up an access token expiration handler (see the Frontend integration section)
# Frontend integration (general)
# 1a) Install the package - NPM
npm i @sumsub/websdk --save
# OR
yarn add @sumsub/websdk
Import the module
import snsWebSdk from '@sumsub/websdk';
# 1b) Install the package - Standalone
<script src = "https://static.sumsub.com/idensic/static/sns-websdk-builder.js"></script>
# 2) Create a container for the WebSDK on your page
<!-- iframe will be inserted as a child element -->
<div id="sumsub-websdk-container"></div>
# 3) Initialize a WebSDK
/**
 * @param accessToken - access token that you generated on the backend in Step 2
 * @param applicantEmail - applicant email (not required)
 * @param applicantPhone - applicant phone, if available (not required)
 * @param customI18nMessages - customized locale messages for current session (not required)
 */
function launchWebSdk(accessToken, applicantEmail, applicantPhone, customI18nMessages) {
    let snsWebSdkInstance = snsWebSdk.init(
            accessToken,
            // token update callback, must return Promise
            // Access token expired
            // get a new one and pass it to the callback to re-initiate the WebSDK
            () => this.getNewAccessToken()
        )
        .withConf({
            lang: 'en', //language of WebSDK texts and comments (ISO 639-1 format)
            email: applicantEmail,
            phone: applicantPhone,
        })
        .withOptions({ addViewportTag: false, adaptIframeHeight: true})
        // see below what kind of messages WebSDK generates
        .on('idCheck.onStepCompleted', (payload) => {
            console.log('onStepCompleted', payload)
        })
        .on('idCheck.onError', (error) => {
            console.log('onError', error)
        })
        .build();

    // you are ready to go:
    // just launch the WebSDK by providing the container element for it
    snsWebSdkInstance.launch('#sumsub-websdk-container')
}

function getNewAccessToken() {
  return Promise.resolve(newAccessToken)// get a new token from your backend
}
Make sure that an accessToken was provided to the SDK initialization function (it has a format like _act-b8ebfb63-5f24-4b89-9c08-5bbabeec986e and can be obtained with API request) and not other kind of token.
# Frontend intergation (config)
All information below is relevant for WebSDK 2. Information about available options for the older version of the SDK can be found here.
# ATTRIBUTES OF withConf PARAMETER
| Name | Type | Required | Description | Default |
|---|---|---|---|---|
| lang | String | No | Language of WebSDK texts and comments in ISO 639-1 format. | 'en' |
| country | String | No | Alpha-3 country code (Wikipedia) to prefill it on document upload screen. | |
| String | No | User's email to propagate it to the applicant. | ||
| phone | String | No | User's phone number to propagate it to the applicant. | |
| theme | 'dark' or 'light' | No | Set either a light or dark theme. By default, the theme is selected automatically. |
# ATTRIBUTES OF withOptions PARAMETER
| Name | Type | Required | Description | Default |
|---|---|---|---|---|
| addViewportTag | Boolean | No | Adds viewport meta tag for iFrame for mobile-optimized SDK adjustments. | true |
| adaptIframeHeight | Boolean | No | Allows our SDK to adapt its height depending on frame/container/page/screen size. | true |
# Standalone working example
Below is a fully working example. Just substitute $ACCESS_TOKEN with the appropriate value
(see steps above), save it to an HTML file and open it in your browser.
<html>
 <head>
  <title>WebSDK CDN Example</title>
 </head>
 <body>
	<script src="https://static.sumsub.com/idensic/static/sns-websdk-builder.js"></script>
	<div id="sumsub-websdk-container"></div>
</body>
</html>
<script>

function launchWebSdk(accessToken, applicantEmail, applicantPhone) {
    let snsWebSdkInstance = snsWebSdk.init(
            accessToken,
            () => this.getNewAccessToken()
        )
        .withConf({
            lang: 'en',
            email: applicantEmail,
            phone: applicantPhone,
        })
        .withOptions({ addViewportTag: false, adaptIframeHeight: true})
        .on('idCheck.onStepCompleted', (payload) => {
            console.log('onStepCompleted', payload)
        })
        .on('idCheck.onError', (error) => {
            console.log('onError', error)
        })
        .onMessage((type, payload) => {
            console.log('onMessage', type, payload)
        })
        .build();
    snsWebSdkInstance.launch('#sumsub-websdk-container')
}

function getNewAccessToken() {
  return Promise.resolve($NEW_ACCESS_TOKEN)
}

    launchWebSdk($ACCESS_TOKEN)
</script>
# React integration
# 1) Install websdk-react
import SumsubWebSdk from '@sumsub/websdk-react'
# 2) Initialize WebSDK
Make sure to use a newly generated accessToken for initialization and prepare accessToken expiration handler (usually it's just generating and using new accessToken)
<SumsubWebSdk
  accessToken={accessToken}
  expirationHandler={accessTokenExpirationHandler}
  config={config}
  options={options}
  onMessage={messageHandler}
  onError={errorHandler}
/>
# WebSDK messages
When providing the on handler you will receive messages from the WebSDK for selected message type (all of them are prefixed with idCheck.):
All information below is relevant for WebSDK 2. Information about message types and their payloads for the old version of the SDK can be found here.
You can see all of those messages in your Browser dev console if you are launching the WebSDK from our dashboard.
| messageType | Payload | Description |
|---|---|---|
| onReady | // id of the iframe in the current context | WebSDK resources have been loaded. |
| onInitialized | {} | The first screen is rendered. |
| onStepInitiated | { | A screen with that corresponds to '$idDocSetType' was shown. |
| onStepCompleted | {"idDocSetType": "$idDocSetType"} | Step '$idDocSetType' has been completed. |
| onApplicantLoaded | {"applicantId": "$id"} | Applicant with id $id has been loaded. |
| onApplicantSubmitted | {} | Documents were submitted for verification. |
| onApplicantStatusChanged | { | Applicant status has been changed. |
| onApplicantResubmitted | {} | Documents were re-submitted for verification. |
| onResize | { | WebSDK frame has been resized. |
| onUploadError | { | Uploaded document was rejected. Available values of errors. |
| onUploadWarning | { | There are warnings about the uploaded document. Available values of warnings. |
# Difference between WebSDK 2 messages and old WebSDK
| Became | Was | Comment |
|---|---|---|
onStepCompleted {"idDocSetType": "$idDocSetType"} | stepCompleted {"step": "$idDocSetType"} | |
| onApplicantStatusChanged | applicantStatus | Payload does not changed |
# Receiving verification results
On sandbox mode, checks will not be started automatically which means webhooks will not be sent automatically. You can request us to start the process manually, or trigger a webhook yourself by calling an API endpoint as described here. Once integration is done and you have moved to the production environment, the webhooks will be sent automatically once verification is completed.
Your backend receives results via a web-hook mechanism. You can get the results via email, Slack or Telegram. But for production mode, we recommend setting up a web-hook endpoint that we would call when necessary:
- We need a webhook URL from you where we can send your results. You can set up webhooks in developer's space.
- We may send several types of webhooks, but the one that will be important to you is the one described in the "Getting verification results" section. We encourage you to carefully get accustomed to this section, since there are quite a few options for what the results may look like.
- If you want to manually check the applicant status, you can always do it by this method.
However, we don't recommend using polling as base method for getting verification results but rather strongly encourage the webhook mechanism.
If for some reason you missed the webhooks, don't worry: we make a note of everything that was attempted to be sent, and can resend failed webhooks at any point in time. If the webhook request fails, we attempt to resend it four times: after 5 minutes, 1 hour, 5 and 18 hours until request succeeds. Check the
createdAtfield of webhook payload to make sure that you're getting relevant applicant status. - You can monitor webhook statuses and resend them manually on the
API Healthpage of the dashboard.
Please note that we may send several final webhooks, so be prepared to change the user's status on your side accordingly. A typical example is when a user got approved, but later on he was detected as a fraudster, and therefore we block him with a second "RED" webhook.
# Getting the production key
# How can we get the production key?
To make sure everything works smoothly for both you and your users, we need to test the flow of your system from the user's perspective before giving you access to the production environment. To do this, we need you to share a link to your server with us.
Ensure that:
- Integration on the sandbox environment is completed, works and meets your requirements
- There are no dev console errors or warnings
- You saved our applicantIds to your database and matched your users
- You received and successfully processed test webhooks from our side
- You know how to correlate results received in the webhook payload with your users
# Moving to production
Please provide us with information on expected amount of incoming users per hour/day/month if possible.
Note that settings won't be transferred from sandbox environment to production automatically. So remember to:
- Set up webhooks at the Dev Space tab of the production dashboard
- Tune regulation rules at Global settings tab of the dashboard
- Create and use production App Token and Secret Key for API authorization
# Customization
All customizations are done from our dashboard. You can customize styles (via custom CSS), navigation, etc. To change all SDK texts by locales, you should use SDK Translations tab. See hints and guides in the dashboard for more details.
# Twilio integration
If you want your users to send verification links via SMS to their mobile devices or use your Twilio credentials for Phone verification,
you have to set it up at the dashboard and make sure that target regions are enabled in your twilio account here.
# Tips & Tricks
# WebView usage
The best way to use our services within mobile applications is by implementing our Mobile SDK. But if you have to use WebView, check tips below.
For initializing WebSDK within mobile app using WebView make sure that
- WebView is able to access device local storage and initialize camera (for older iOS versions camera can be accessed only from Safari browser or WebView with
SFSafariViewController) - Make sure that HTML5 video playback is allowed (we're using some instructions within
<video>tags): if video-instructions are not played, try usingWebChromeClientto enable video playback - Autoplay in fullscreen mode is disabled and
allowsInlineMediaPlaybackis set astruefor WebView with running SDK
# Camera access
If you're experiencing troubles with camera access for liveness, please make sure that
Feature-Policyheader for your webpage/frame or any other container with SDK doesn't have any restrictions for initializing camera like valuecamera 'none'.Permissions-Policyheader doesn't restrict access to a camera and microphone (for some cases) and ifallowis set check for"camera; microphone"values.- Your website is being run on secure
httpsconnection.
# Placement
For the best conversion, try to initialize SDK by the center of the screen, so it would be easier for users to pay attention to instructions during verification process.
SDK's iframe resizes itself according to its container and SDK screen content - so container itself shouldn't have a static size but should adjust to screen size: try to use <meta name="viewport" content="width=device-width, initial-scale=1.0, user-scalable=yes"> tags.
# FAQ
# How can we get the applicantId?
Two ways:
- When user completes a first page, an applicant is created. At this moment, we send webhook to your endpoint with type
applicantCreated. Its payload will contain theapplicantId - GET
/resources/applicants/-;externalUserId=${externalUserId}/one
This endpoint will throw a 404 if no applicant exists with such a user id.
# Where can I find a list of supported locales?
For more information on the supported languages, refer to this article.